
As someone who lives in a snowy part of the world where winter storms are more frequent than I’d prefer, between my mates and I, learning how to remove rust from my undercarriage is a common issue.
On the surface, a rusty undercarriage on your car might only look like a cosmetic problem. However, a lot of rust on your undercarriage is a serious concern, as it can and will impact a car’s structural integrity.
With that in mind, if you notice even a tiny bit of rust on your undercarriage, it’s worthwhile taking a closer look at it ASAP. Thankfully, removing rust from your car’s undercarriage is much easier than it seems!
Undercarriage Rust
So, why is it that removing rust from your car’s undercarriage that crucial? Well, there are quite a few key reasons that I could name at the top of my tongue…
Decreased resale value (due to potential long-term problems), costly repairs (if not fixed when the issue is still early on), and worsening aesthetics (given that rust will spread elsewhere), just to name a few.
However, by far and away the worst consequence, is compromised structural integrity. Your undercarriage is the backbone of your car, supporting critical parts like the engine, transmission, and exhaust system.
Over time, rust can eat away at the metal, causing it to become brittle and prone to breaks or cracks. Plus, the undercarriage is also home to your brake and fuel lines, and rust can spread to these parts, too.
How To Remove Rust From Car
Despite its seriousness, the good news here is that removing rust from a car’s undercarriage can be pretty easy to do. Even for first-timers, the steps, from start to finish are pretty straightforward.
Here’s a basic preview of what a typical undercarriage rust removal job entails (click on each one to skip to that specific section):
- Lifting up your car
- Inspecting and making sure what sort of rust you’re dealing with
- Dealing with top-level surface rust
- Addressing deeper-scale rust
- Fixing up even deeper penetrating rust
- Cleaning up the area after removing all that rust
- Applying a coating of rust converter
- Further applying any additional rust-proofing solution
Once you’re ready to tackle how to remove rust from your car’s undercarriage, here’s a more in-depth step-by-step guide on how you can manage this:
Step #1: Initial Preparation & Lifting Up Your Car
TOOLS NEEDED:
- Car jacks
- Jack stands
- Safety gloves and goggles
PRECAUTIONS:
- Always wear safety gloves and goggles to protect your eyes from debris, and your skin from exposure to rust.
- Never work under a car that’s supported and propped up only by a car jack. Your car should always be securely placed on jack stands, or a car lift, if you have one.
PROCEDURE:
- First off, find a flat and stable surface that you can work on, where you can confidently lift up your car.
- Using a car jack, you can now carefully raise your car. Make sure you refer to your car’s owner’s manual to identify the proper jacking points.
- Once your car’s been raised, secure your car with jack stands. This is IMPORTANT, to ensure that your car doesn’t fall while you’re working underneath it.
Step #2: Inspecting What Type Of Rust You’re Dealing With
TOOLS NEEDED:
- Flashlight
PROCEDURE:
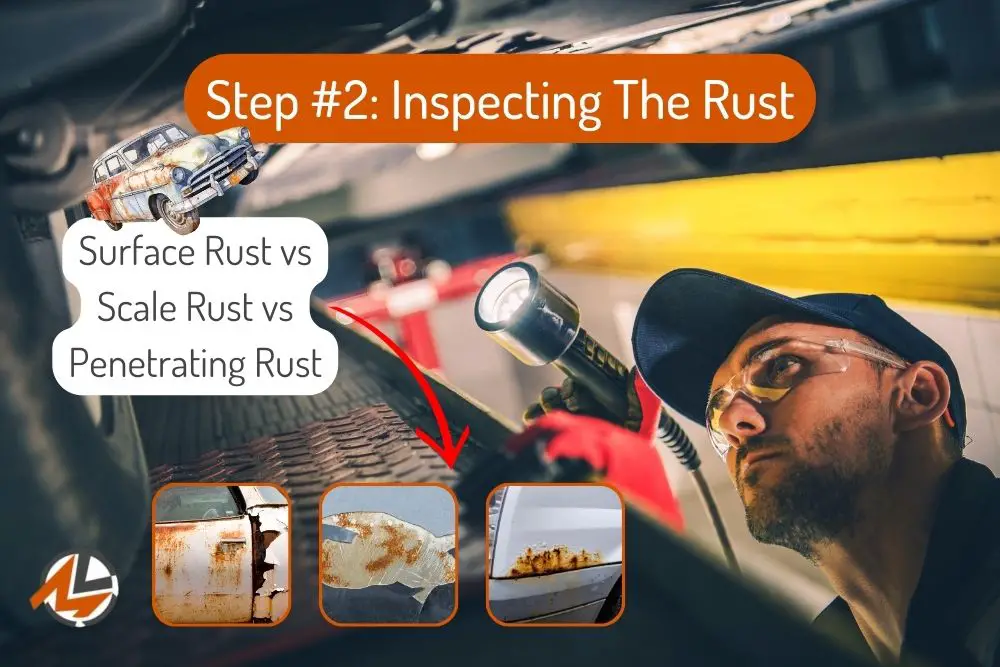
- Using a flashlight (or just your phone’s built-in flashlight), start by inspecting the type of rust that you’re dealing with. Doing so will give you a better clue of the severity of rust that’s on your undercarriage.
- The types of rust that are often found on a car’s undercarriage include:
- Surface Rust: Appears on the top layer, often looking like discolorations or pitting.
- Scale Rust: Deeper than surface rust, and it causes the metal to flake or chip.
- Penetrating Rust: The most severe form, where rust has eaten holes into the metal.
Step #3: Getting Rid of Surface Rust
TOOLS NEEDED:
- Sandpaper (coarse – 40, 50, or 60-grit)
- Safety goggles and gloves
PRECAUTIONS:
- Ensure you don’t scrub too hard at the surface rust to avoid damaging the good metal.
PROCEDURE:
- Wear safety goggles and gloves to prevent getting into contact with debris or rust chipping off your car.
- Before moving on to the deeper scale rust and penetrating rust, we’ll begin first by removing all surface-level rust on your car’s undercarriage.
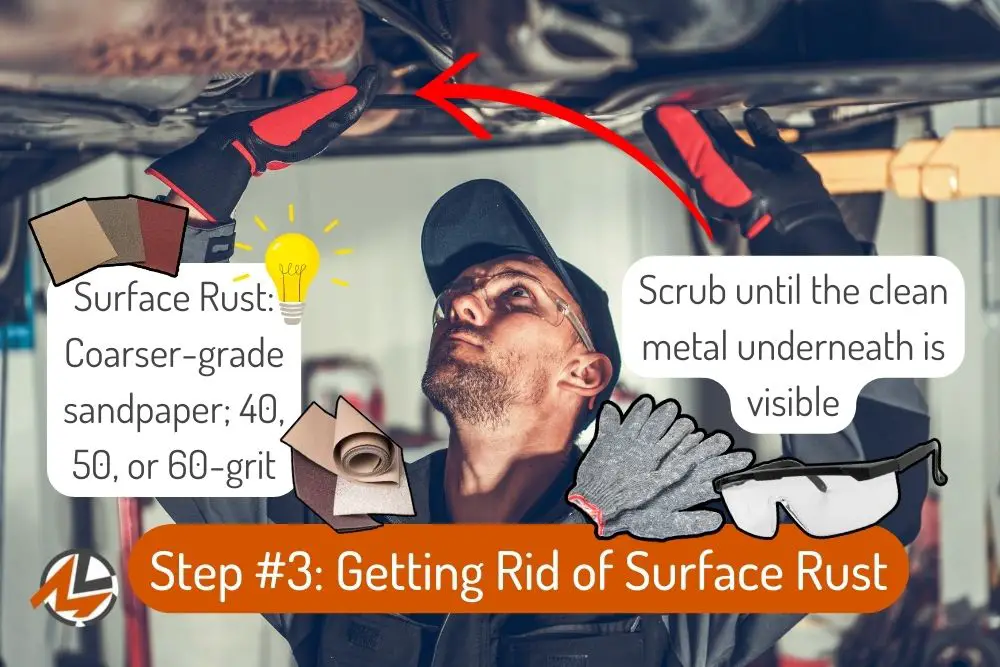
- Using the sandpaper (coarser to medium-grade, given that it’s the top-level layer of rust), gently scrub the affected area in a circular motion.
- For surface-level rust, use coarser-grade sandpaper, such as 40, 50, or 60-grit. However, depending on the seriousness of the surface rust, you might be able to get away with just 80 or 100-grit.
- Continue scrubbing until the clean metal underneath is visible. Once you notice metal, that’s a good way to tell that you’ve gone through the surface rust.
Step #4: Removing The Scale Rust
TOOLS NEEDED:
- Wire brush
- Sandpaper (begin with a coarse grade – see below)
- Safety gloves and goggles
PRECAUTIONS:
- Be careful not to damage non-rusted parts of the undercarriage. So, as you’re scrubbing it with sandpaper, keep an eye out to ensure that you’re only using the sandpaper on the rust spots.
PROCEDURE:
- Start with the sandpaper to remove the top layer of the rust.
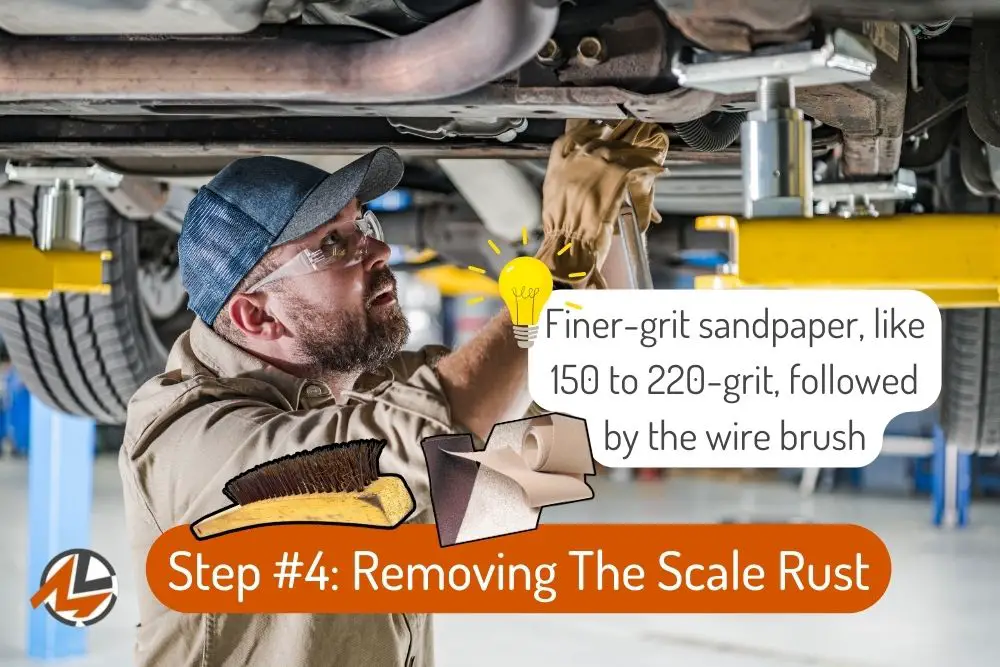
- For deeper scale rust, begin with a coarse grade of sandpaper, like 40 to 60-grit. When most of the rust has been removed, move to medium-grit sandpaper for scale rust, such as 80 to 120-grit.
- After most of the rust has been removed, you can move onto finer-grit sandpaper, like 150 to 220-grit. This helps to smooth out any imperfections.
- Follow up with the wire brush, scrubbing more vigorously to get rid of the deeper rust, which couldn’t be dislodged with the sandpaper.
- Ensure you cover all affected areas that have any rust, reaching every nook and cranny.
Step #5: Dealing With Penetrating Rust
TOOLS NEEDED:
- Welding kit (penetrating rust isn’t recommended for most people, and professional consultation is required, given that it requires in-depth repair processes, such as welding)
PRECAUTIONS:
- Do not attempt to fix penetration rust on your own if you lack the necessary skills or equipment. This step is ideally reserved for those who have some experience or know-how with welding.
PROCEDURE:
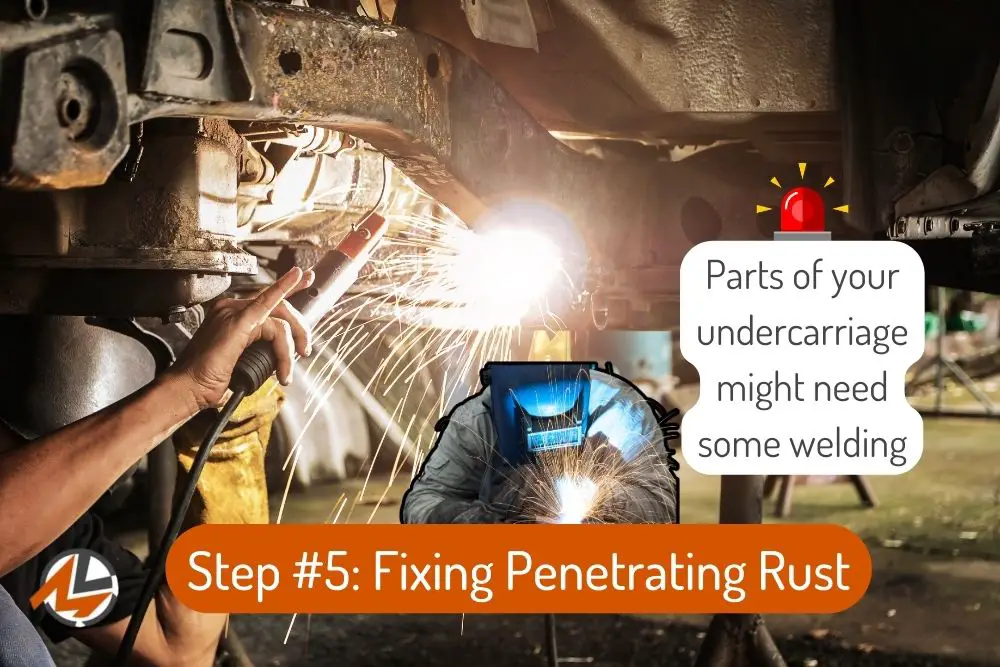
- If rust has created holes or significantly weakened the metal, it’s time to consult a professional. Should you not notice any penetrating rust, then skip to Step #6. If you do, then it’s best to consult a professional.
- Depending on the severity, some areas of your undercarriage might need some welding, while other parts might require complete replacement. Penetrating rust is what happens if you leave it untreated for long.
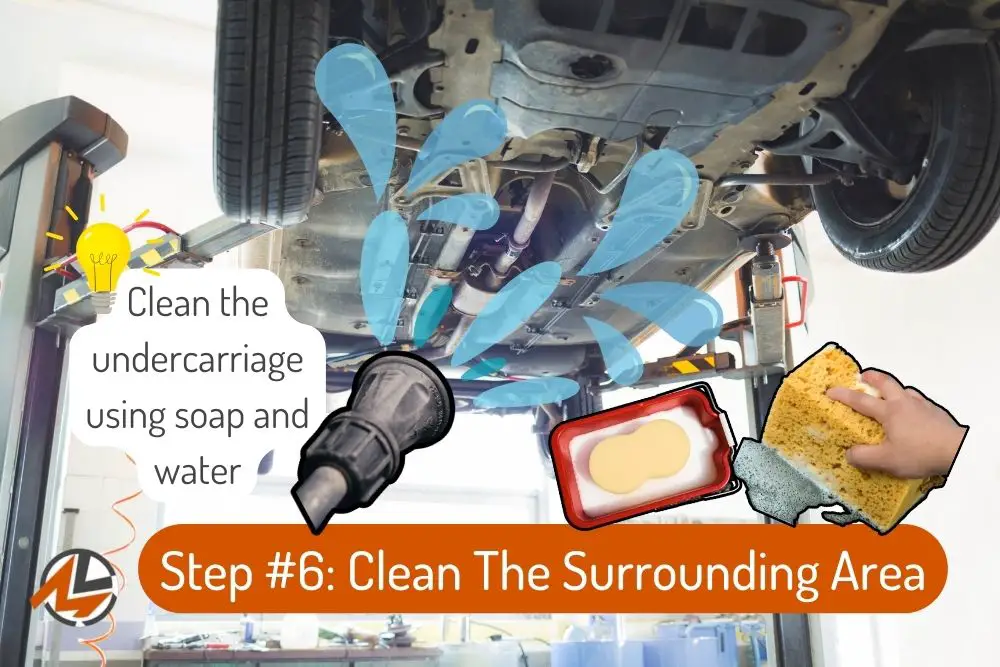
Step #6: Clean The Surrounding Area
TOOLS NEEDED:
- Soap and water
- Clean cloth or sponge
PROCEDURE:
- Once all the rust has been removed, it’s time to continue with cleaning the undercarriage using soap and water. This ensures that no residues – which could lead to further rusting – are left behind.
- Ensure that you clean your undercarriage with soap or water thoroughly. It’s also a good idea to dry your undercarriage and ensure that no pockets of stagnating water are left behind to cause more rust in the future.
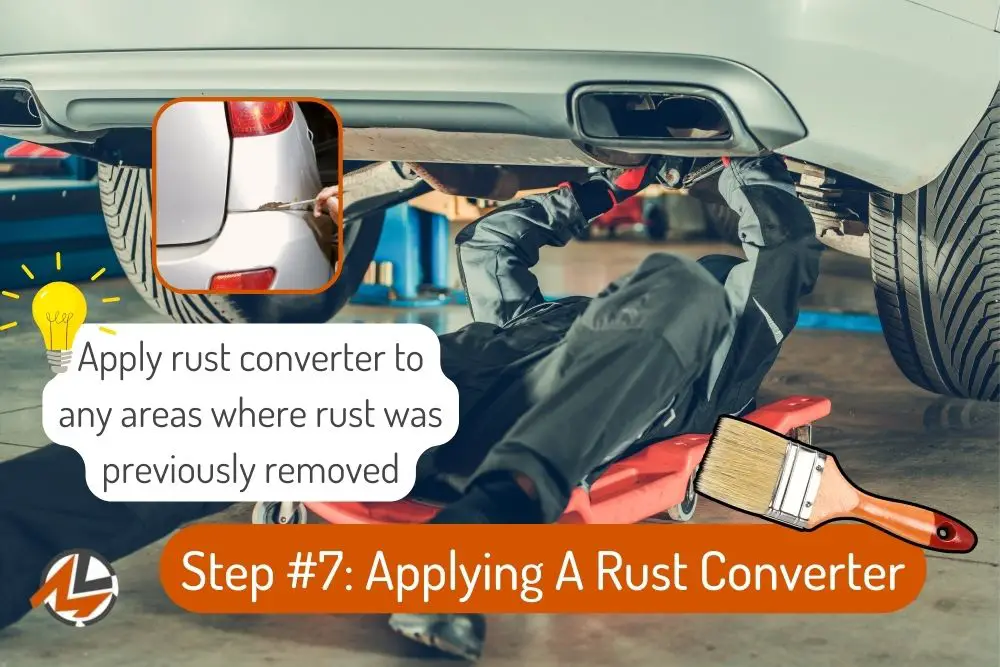
Step #7: Applying A Rust Converter
TOOLS NEEDED:
- Rust converter
- Paintbrush or spray
PRECAUTION:
- Follow the manufacturer’s instructions for using and applying the rust converter. Ensure the undercarriage is dry (after cleaning and washing it) before application.
PROCEDURE:
- Apply the rust converter solution to any areas where rust was previously removed. Before beginning with Step #1, a neat trick that I’d recommend is taking before-and-after photos of where rust was previously.
- The rust converter solution reacts with any tiny rust particles left behind, thus transforming them into a protective layer.
Step #8: Adding Any Rust Proofing Formula
TOOLS NEEDED:
- Rust-proofing formula (such as oil or rubberized sprays)
- Safety gloves and goggles
PRECAUTIONS:
- Ensure that your car’s undercarriage is clean and dry before applying the rust-proofing formula.
PROCEDURE:
- Spray or brush on the rust-proofing formula to the entire undercarriage. The method of application will depend on what type of rust-proofing you have, be it a spray-on, brush-on, or an undercoating.
- After you’ve applied the rust-proofing formula, make sure that your undercarriage has been dried, once again. The length of time needed will vary from one formula to another, so check the manual.
- This acts as a protective barrier against elements that cause rust. Do bear in mind that some rust-proofing solutions require a re-application after a certain number of miles or after a select number of years.
